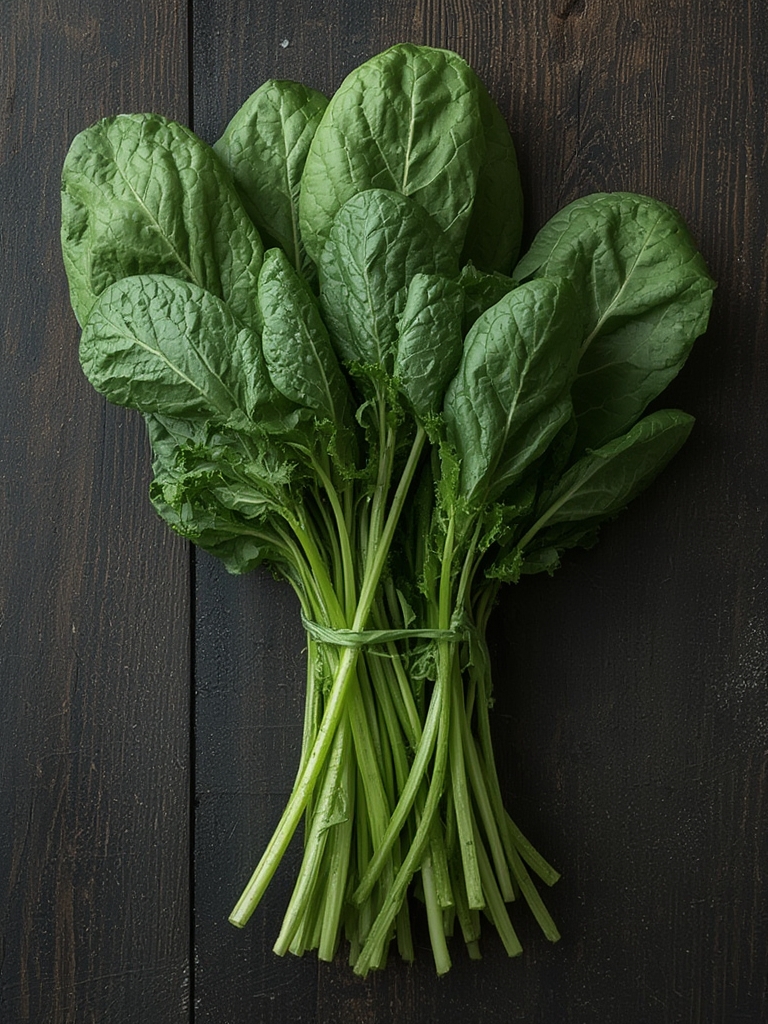
Have you ever tasted the incomparable freshness of homegrown Spinach? This nutrient-packed leafy green isn’t just a superfood, it’s also one of the most rewarding vegetables to cultivate in your own garden or even on a sunny windowsill. Growing Spinach at home gives you access to pesticide-free greens while saving money on expensive store-bought options. Plus, nothing beats the satisfaction of harvesting your own vibrant green leaves for a salad or smoothie! With minimal space and effort, you can enjoy continuous harvests of tender baby spinach throughout multiple growing seasons.
Materials & Supplies
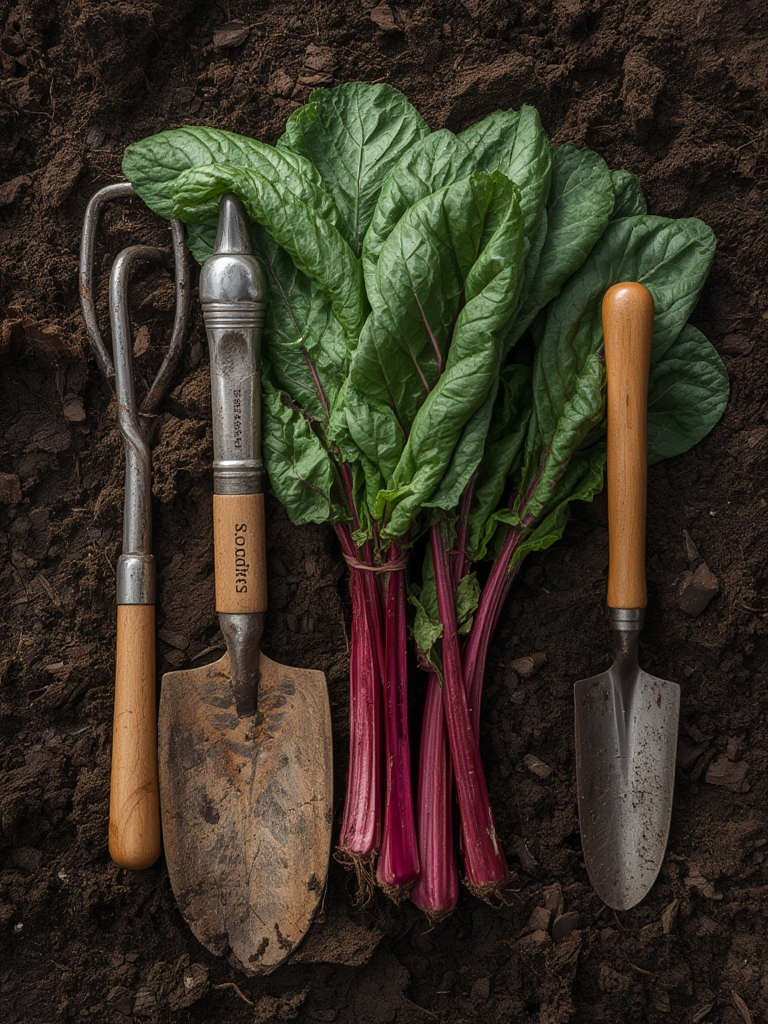
To start your Spinach growing journey, gather these essential items:
- Seeds: Choose bolt-resistant varieties like ‘Bloomsdale’ or ‘Tyee’ for beginners
- Containers: 6-8 inch deep pots with drainage holes (for container growing)
- Garden space: A partially shaded area with loose, well-draining soil (for in-ground planting)
- Soil: Nutrient-rich potting mix with compost; aim for pH 6.0-7.0
- Fertilizer: Balanced, slow-release organic fertilizer
- Watering can: With gentle spray attachment
- Garden tools: Hand trowel, garden fork, scissors for harvesting
- Row covers: Optional but useful for pest protection and extending seasons
- Liquid seaweed: Optional organic growth stimulant
Timing / Growing Schedule
Spinach thrives in cool temperatures, making it perfect for spring and fall gardens. Seeds germinate in just 5-9 days at temperatures between 45-75°F. From planting to first harvest, expect approximately 40-45 days, though you can begin harvesting baby spinach leaves in as little as 25-30 days. Unlike slower-growing vegetables like carrots or parsnips that take months to mature, Spinach provides quick gratification and multiple harvests from a single planting.
Step-by-Step Instructions
-
Prepare your growing area: Loosen soil to a depth of 8-10 inches and incorporate 2-3 inches of compost. For container growing, fill pots with pre-moistened potting mix, leaving 1 inch of space at the top.
-
Sow seeds: Plant seeds ½ inch deep and 2 inches apart in rows spaced 12-18 inches apart. In containers, scatter seeds evenly and cover lightly with soil. Pro tip: Pre-soak seeds for 24 hours to improve germination rates.
-
Water gently: Maintain consistent moisture without waterlogging. Use a fine spray to avoid displacing seeds. Keep soil evenly moist like a wrung-out sponge.
-
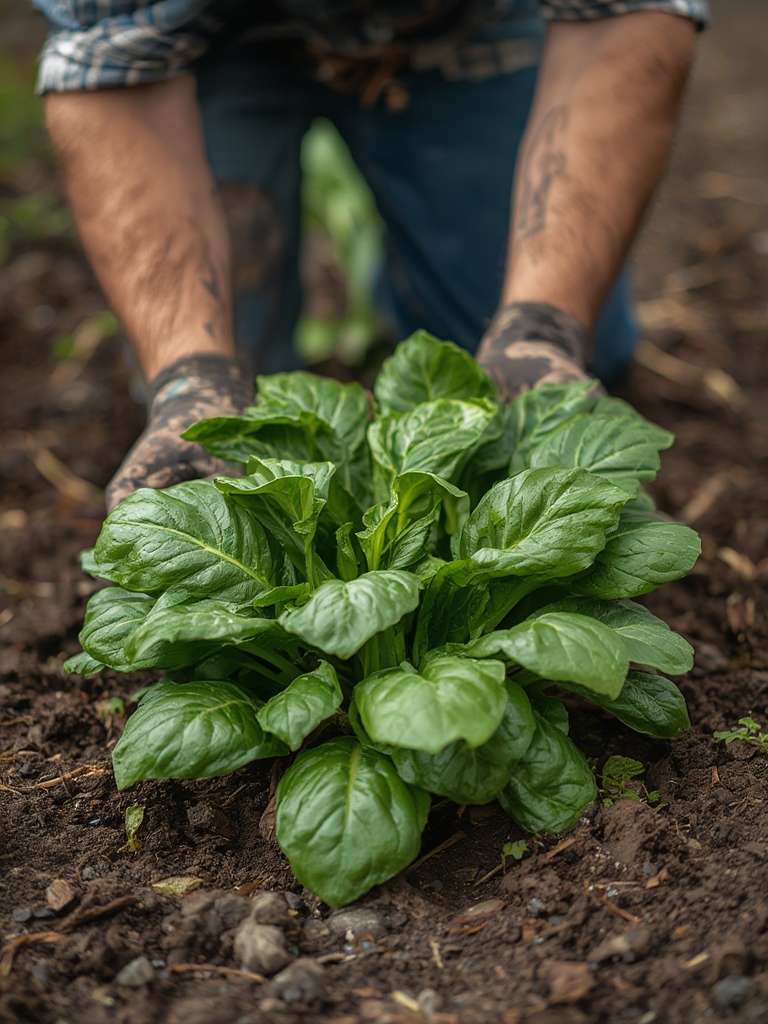
Thin seedlings: When plants reach 2 inches tall, thin to 4-6 inches apart. Don’t discard the thinnings – these tender baby spinach leaves make delicious additions to salads!
-
Fertilize sparingly: Apply diluted liquid fertilizer every 2-3 weeks after plants establish. Avoid high-nitrogen fertilizers which can reduce leaf quality.
Nutritional Benefits
Homegrown Spinach delivers exceptional nutritional value with high levels of vitamins A, C, and K, plus iron, folate, and antioxidants. Fresh-picked leaves contain significantly higher nutrient levels than store-bought options, which lose up to 90% of vitamin C within 24 hours of harvest. Regular consumption supports eye health, reduces inflammation, and boosts immune function.
Tips and Alternative Methods
Consider succession planting every 2-3 weeks for continuous harvests. For apartment dwellers, Spinach thrives in window boxes, balcony containers, or indoor grow lights. In hot climates, provide afternoon shade or try heat-resistant varieties like ‘Space’ or ‘Tyee’. For vertical gardening, plant Spinach in tiered planters or wall-mounted pocket systems to maximize space.
Common Mistakes to Avoid
- Overcrowding plants: This reduces air circulation and increases disease risk. Solution: Follow proper spacing guidelines.
- Inconsistent watering: Causes bitter leaves and premature bolting. Solution: Maintain even soil moisture with regular checks.
- Planting too late in spring: Leads to bolting in hot weather. Solution: Start early or save planting for fall.
- Harvesting incorrectly: Damaging the growing point. Solution: Cut outer leaves, leaving the center to continue growing.
Storage / Maintenance Tips
Store harvested leaves unwashed in a perforated plastic bag in the refrigerator for up to 7 days. For maintenance, water consistently and apply organic mulch to retain moisture and suppress weeds. Remove yellowing leaves promptly. To prevent bolting, provide shade during hot spells and harvest regularly to encourage continued production.
Conclusion
Growing your own Spinach delivers unmatched freshness, flavor, and nutritional benefits right at your fingertips. With minimal investment and following these straightforward steps, you’ll enjoy abundant harvests of this versatile leafy green. Whether you’re a beginner or experienced gardener, homegrown Spinach offers satisfying results and endless culinary possibilities. Why not start your own Spinach patch today? Share your growing success in the comments below!
FAQs
- When is the best time to harvest spinach?
Harvest outer leaves when they reach 3-4 inches long, preferably in the morning when leaves are most crisp. You can begin picking baby spinach leaves at 25-30 days after planting. - Why is my spinach turning yellow?
Yellowing often indicates overwatering, nutrient deficiency, or pest problems. Ensure proper drainage, apply balanced fertilizer, and check leaf undersides for pests. - Can spinach be grown indoors year-round?
Yes! Use a south-facing window or grow lights providing 10-12 hours of light daily. Maintain temperatures between 60-70°F and ensure good air circulation. - How do I prevent spinach from bolting?
Plant bolt-resistant varieties, provide afternoon shade, keep soil consistently moist, and harvest regularly. For summer growing, use shade cloth to reduce temperatures.