Introduction
Have you ever tasted the sweet crunch of a freshly harvested carrot pulled straight from the garden? Growing your own Carrots at home can be one of the most rewarding gardening experiences. Not only do homegrown Carrots taste infinitely better than store-bought varieties, but they also allow you to avoid pesticides and reduce your carbon footprint. Whether you have a spacious garden or just a few containers on your balcony, cultivating these vibrant root vegetables is surprisingly simple with the right knowledge and care.
Materials & Supplies
To start your carrot-growing journey, you’ll need:
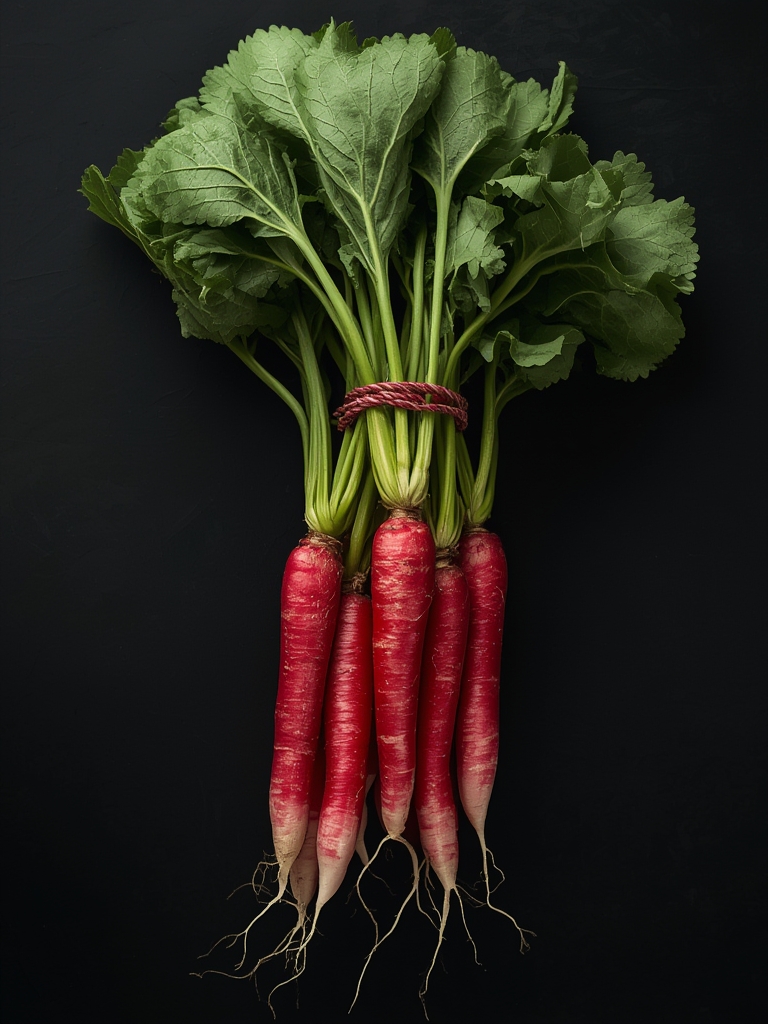
- Carrot seeds (Choose varieties suited to your climate and growing space)
- Well-draining, loose soil or specialized potting mix
- Garden space or containers (at least 12 inches deep)
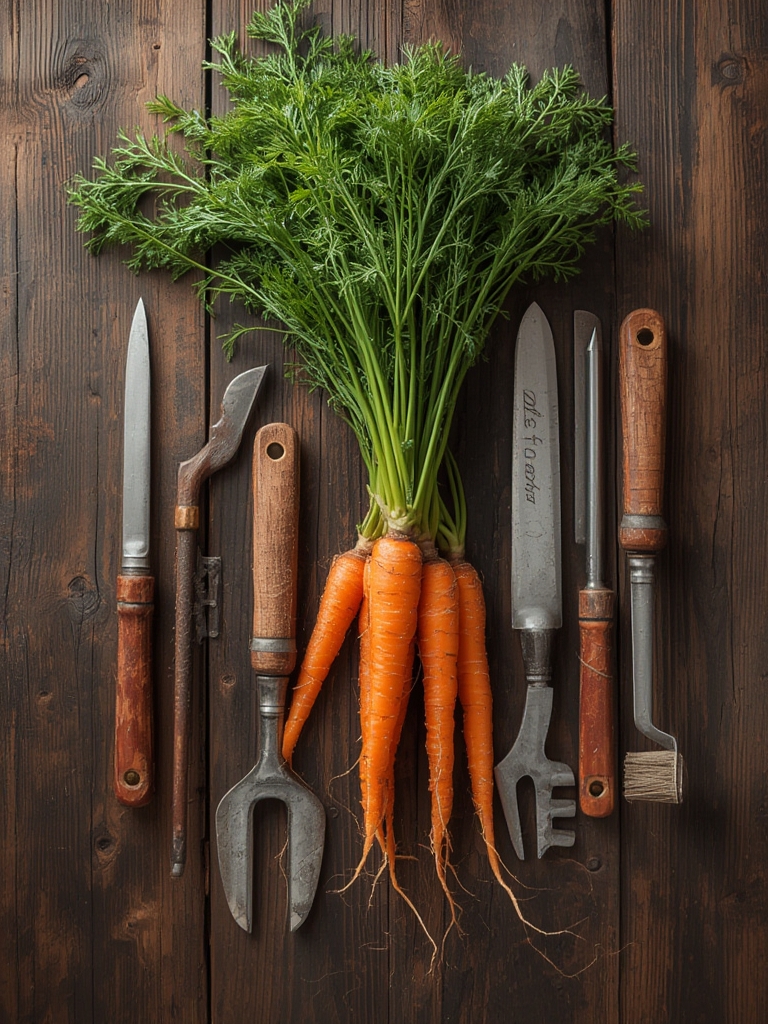
- Garden fork or tiller for soil preparation
- Fine-mesh garden sieve for soil preparation
- Watering can with fine spray attachment
- Organic compost or well-rotted manure
- Row covers or floating fabric (optional for pest protection)
- Mulch material like straw or dried grass clippings
- Garden gloves and basic hand tools
- Plant markers or labels
For container growing, select deep pots with drainage holes and lightweight potting mix specifically formulated for root vegetables.
Timing / Growing Schedule
Carrots are cool-weather crops that grow best when planted in early spring or late summer. From sowing to harvest, expect:
- Preparation: 1-2 days to prepare soil and space
- Germination: 7-21 days (patience required!)
- Growing period: 70-80 days for most varieties (faster for baby carrots)
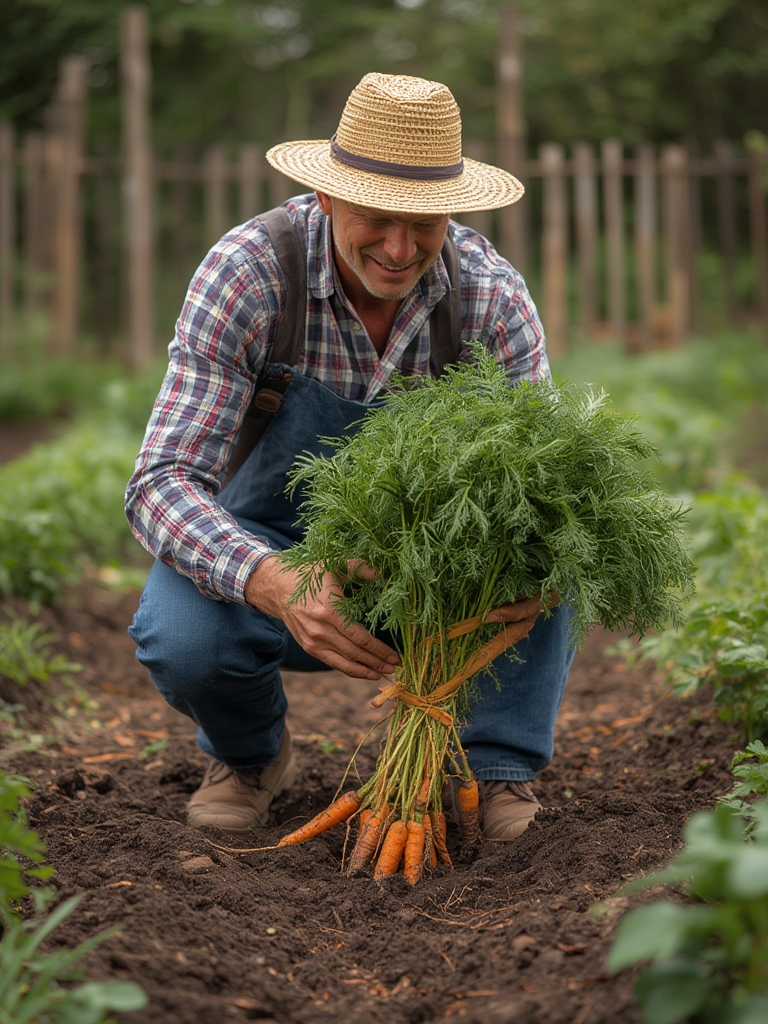
- Harvest time: 2-4 months after planting, depending on variety
In warmer climates, plant in early fall for a winter harvest. In cooler regions, start 2-3 weeks before the last spring frost for summer harvesting.
Step-by-Step Instructions
- Prepare the soil: Remove stones, clods, and debris. Carrots need fine, loose soil to develop properly. Dig to a depth of 12 inches and incorporate compost.
- Test soil pH: Aim for a slightly acidic to neutral pH (6.0-7.0). Adjust with lime to raise pH or sulfur to lower it.
- Create furrows: Make shallow trenches about ¼ inch deep and 3-4 inches apart.
- Sow seeds: Mix carrot seeds with sand for more even distribution. Sow thinly along furrows and cover with a fine layer of soil.
- Water gently: Use a fine spray to avoid displacing seeds. Keep soil consistently moist until germination.
- Thin seedlings: When plants reach 2 inches high, thin to 2-3 inches apart. This critical step prevents crowding and misshapen roots.
- Mulch: Once plants are established, add a light layer of mulch to retain moisture and suppress weeds.
- Maintain moisture: Water deeply but infrequently, providing about 1 inch of water weekly.
Nutritional Benefits
Home-grown Carrots are nutritional powerhouses, offering:
- High levels of beta-carotene (vitamin A)
- Dietary fiber for digestive health
- Potassium for heart health
- Antioxidants that may reduce cancer risk
- Vitamin K for bone health
- Lower environmental impact than commercially grown vegetables
Tips, Alternative Methods, or Gardening Advice
- Container growing: Use deep pots (at least 12 inches) with drainage holes for balcony or patio cultivation.
- Companion planting: Grow alongside onions, herbs like rosemary, or lettuces to maximize space and deter pests.
- Succession planting: Sow small batches every 2-3 weeks for continuous harvests.
- Raised beds: Ideal for Carrots as they provide the deep, loose soil needed for straight roots.
- Winter protection: In mild climates, mulch heavily to harvest Carrots throughout winter.
Common Mistakes to Avoid
- Rocky soil: Stones cause forked or deformed carrots. Sieve soil thoroughly before planting.
- Overcrowding: Failure to thin seedlings results in small, twisted roots.
- Inconsistent watering: Leads to cracking and bitter taste. Water regularly and evenly.
- Heavy fertilization: Too much nitrogen produces lush tops but small roots. Use balanced, slow-release fertilizers.
- Harvesting too late: Oversized carrots can become woody and less flavorful.
Storage / Maintenance Tips
After harvest, remove tops and brush off soil (don’t wash until ready to use). Store in perforated plastic bags in the refrigerator for 2-3 weeks. For longer storage, pack in damp sand in a cool cellar.
For ongoing care:
- Keep soil consistently moist
- Weed carefully to avoid disturbing roots
- Apply light compost tea monthly
- Watch for pests like carrot rust fly; use row covers preventatively
Conclusion
Growing Carrots at home connects you to the joy of harvesting your own nutritious food while developing gardening skills. The patience required is rewarded with flavor that store-bought vegetables simply can’t match. Start with a small patch or container, apply these guidelines, and you’ll soon be pulling vibrant, crisp Carrots from your own soil. Share your carrot-growing adventures in the comments, and let us know which varieties you’re planning to try next!
FAQs
- When is the best time to harvest carrots?
Harvest when the shoulders reach about ¾-1 inch in diameter. For baby carrots, pull earlier when they reach finger size. - Why are my carrots splitting or cracking?
Inconsistent watering is typically the cause. Maintain even soil moisture, especially after dry periods. - Can carrots be grown indoors?
Yes, in deep containers near a sunny window or under grow lights. Choose shorter varieties like Parisian or Atlas for indoor growing. - How do I prevent carrot flies?
Use floating row covers, plant aromatic herbs nearby, or create physical barriers around beds. Avoid crushing carrot foliage, as the scent attracts these pests. - What causes hairy or fibrous carrots?
Usually the result of old seeds, poor soil conditions, or environmental stress. Use fresh seeds, prepare soil properly, and maintain optimal growing conditions.